

As a business in the printing space, it’s imperative to create well-designed printed materials in order to forge deeper connections with your customers. Whether you’re a veteran print designer with an impressive roster of clientele or you’ve just begun your print business, there are some key considerations to take into account if you want to set yourself up for success.
Here are several mistakes to avoid at all costs when tackling your next print project.
Mistakes to Avoid When Designing for Print
#1. Failing to Invest in the Right Tools
There’s simply no denying the value of investing in reputable design software and printer for your business. This also includes dedicating ample time towards perfecting your skills and knowledge of the tools you opt for.
Some of the most popular design programs on the market today include Adobe Photoshop, Illustrator, and InDesign. While these may cost a pretty penny, they’ll supply you with all the resources you need to create captivating print designs.
If:
You’re looking to invest in a printer that’ll have a real impact on your print business, you should consider a dye-sub or DTG printer (which, of course, will be largely dependent on your individuals business needs).
Keep in mind that dye-sub printers are used to print on polyester or other synthetic fabrics, including t-shirts, table covers, banners, flags, and more. While a DTG printer is great for printing graphics on garments or textiles (typically t-shirts).
 #2. Familiarize Yourself with RGB vs. CMYK Color Modes
This is a common rookie mistake. RGB, otherwise known as red, green, and blue, is an additive color system that uses light to blend coloring together. As more light is added, the color will become brighter and more vibrant.
If your business is working on digital designs, you’ll most likely be working in RGB mode. However, if you’re crafting a new design for print purposes, using an RGB-based tool will lead to some unwanted headaches.
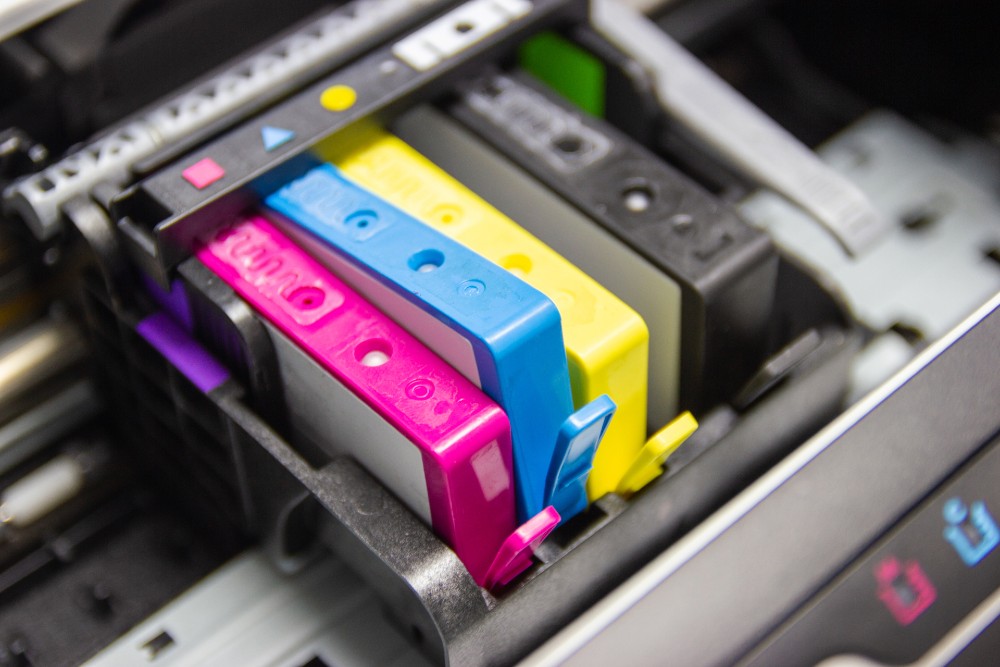
That’s where CMYK comes in (cyan, magenta, yellow, and black). This subtractive color system works by mixing inks to produce a wide spectrum of hues – similar to how a traditional artist mixes paint before transferring it onto their canvas.
As more ink is mixed in, the color will become darker. The scope of coloring that can be generated via light is much broader than what is achievable via ink.
#3. Not Accounting for the Bleed
Unless you’re a fan of unpleasant white edges or trimming off an important piece of your design, you’ll need to accommodate for the bleed. The bleed refers to anything that comes in contact with the edge of your documents, such as any background elements or colors.
To ensure your design looks flawless once printed, you’ll want to extend (a.k.a. bleed) the background beyond the edges of the page.
This is a crucial step, as it allows for minor inaccuracies when the printed design is trimmed to the appropriate size. The standard bleed size is typically around 0.125”. However, that number is ultimately contingent upon the type of printer you’re using and the final product.
#4. Forgetting to Consider the Material Color
When you’ve dedicated hours towards perfecting your design, it’s easy to completely forget about the material your work will be printed on.
For example:
A full-bleed colored background may look stunning on your screen, but it may prove to be a challenge when it comes to printing it. Depending on the material or printing method you elect to use, you may discover it is incredibly difficult or virtually impossible to replicate.

#5. Not Using High-Resolution Artwork
When designing for print, you should always use high-resolution assets. Sure, a low-res image may look passable on screen, but after it’s printed, it’ll make you cringe. If you’re sourcing images online, double-check to make sure your print resolution is perfect.
Before sending your design for printing, ensure all elements are high-res. After all, you want the final product to accurately portray all your hard work.
#6. Neglecting Font Size & Weight
As a general rule of thumb, your font should be no smaller than 8pt. However, font-weight needs to be factored into the equation as well. For example, Helvetica Light is comprised of very fine lines – at 8pt., it may not be legible. Make sure to apply the same rule to heavier fonts too. Impact uses very thick lines that will bleed together if printed in too small of a size.
Designing can be loads of fun – we can’t argue with you there. And owning your own print business can be incredibly fulfilling. However, if you let these common issues get between you and the final product (gorgeous printed materials!), it certainly won’t help your business’s growth and brand reputation.
Are there other important considerations that we missed? Feel free to share your insight in the comments below.
Questions? Get in touch with an Imaging Spectrum representative at 214-342-9290 or email inkjet@imagingspectrum.com
0 Comments